
How to Install Kubernetes on Windows
Kubernetes is a container-based platform for managing cloud resources and developing scalable apps. It is widely regarded as the most common platform for automating, deploying, and scaling the entire cloud infrastructure. The platform runs on all major operating systems and is the most widely used open-source cloud tool.
Kubernetes can scale your entire infrastructure, monitor each service’s health, act as a load balancer, and automate deployments, among other things. You can deploy your pods (docker containers) and services across the cloud by installing and configuring as many nodes (clusters) as you want.
Let’s get started. We will guide you through the complete roadmap on how to install Kubernetes for Windows users. This tutorial will show you how to set up Kubernetes and deploy the official web GUI dashboard, which will allow you to manage and monitor everything.

For installing Kubernetes in your system, here are a few prerequisites that need special attention. The hardware and software requirements are discussed below:
Ensuring that there is a full range of connectivity between all the machines in the cluster is a must.
As we all know, Windows has its virtualization software, known as Hyper-V, which is essentially VirtualBox on steroids. Hyper-V allows you to manage your virtual machines (VMs) using either the free Microsoft GUI tool or the command line. It’s simple to enable Hyper-V, but first, make sure your PC meets the following requirements:
You can disable or enable features like Hyper-V that may not be pre-installed when Windows is installed. Always keep in mind that some of the features require internet access to download additional Windows Update components.
To enable Hyper-V on your machine, follow the steps below:
1. Open the Control Panel.
2. Select Programs from the left panel.
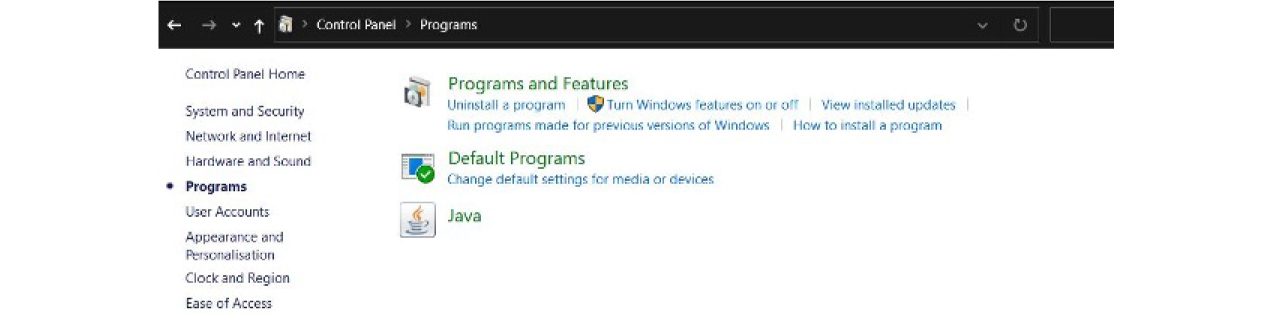
3. Next, go to Programs and Features, then Turn Windows Features On or Off.
4. Examine Hyper-V and the Hypervisor Platform for Windows.
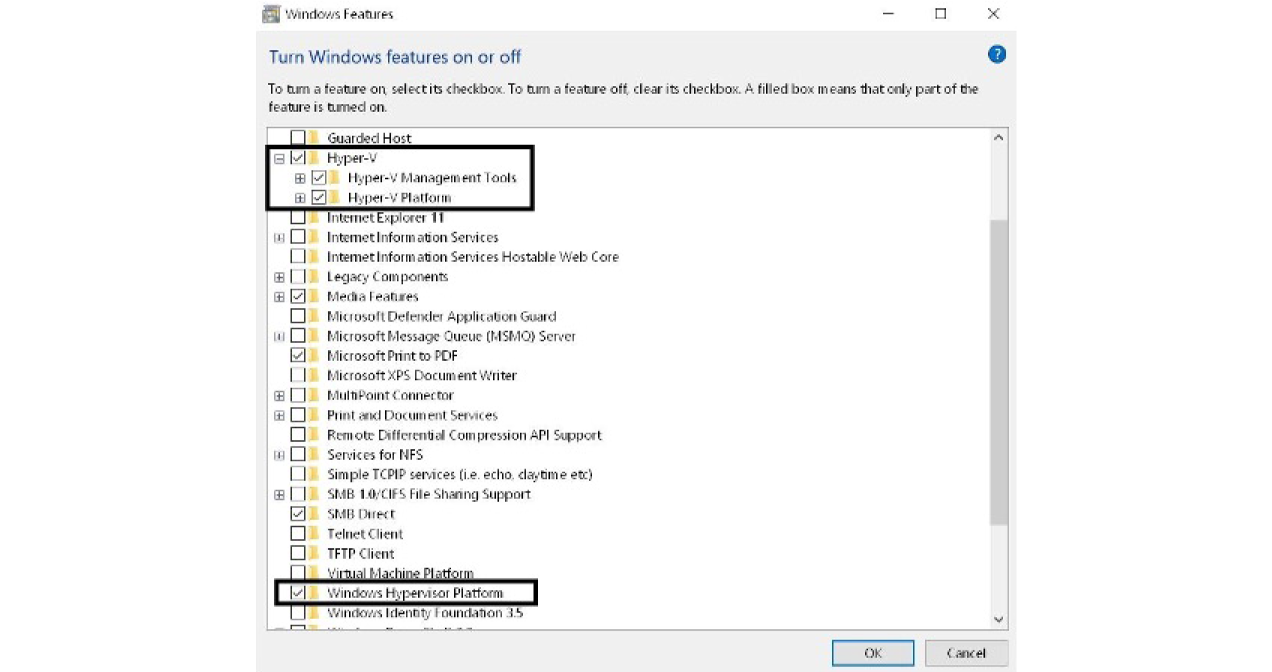
5. Select OK.
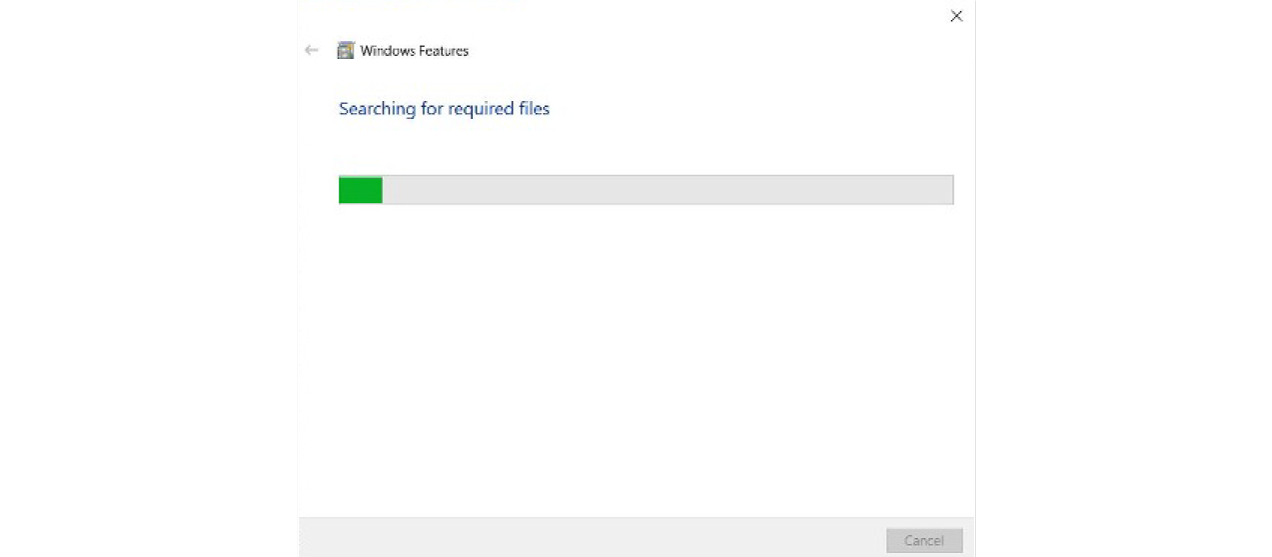
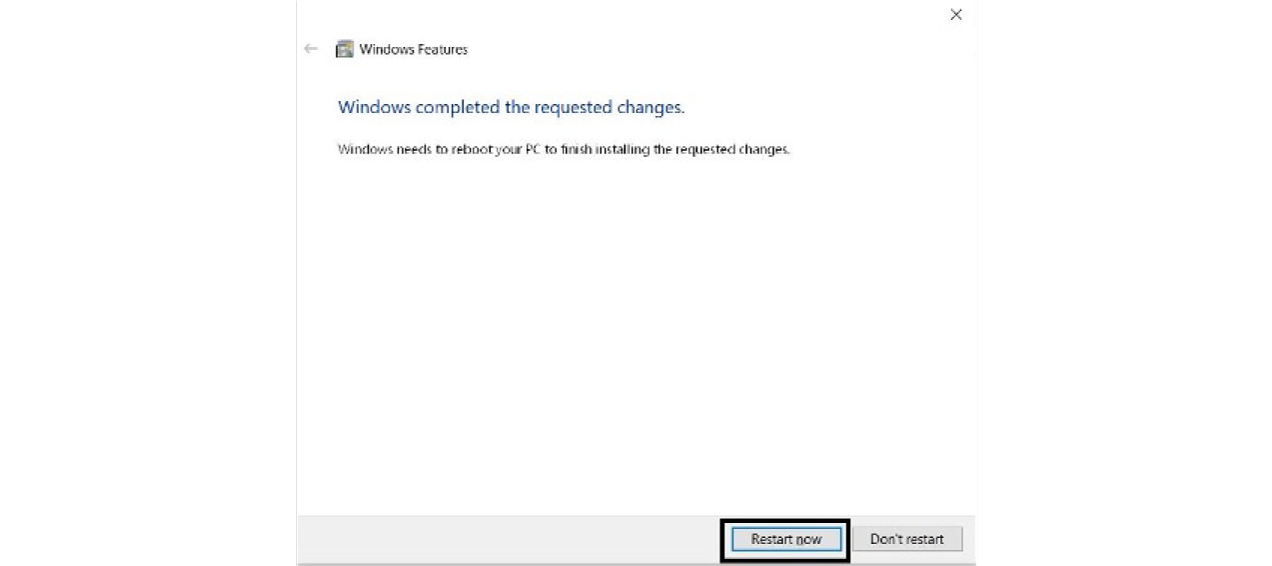
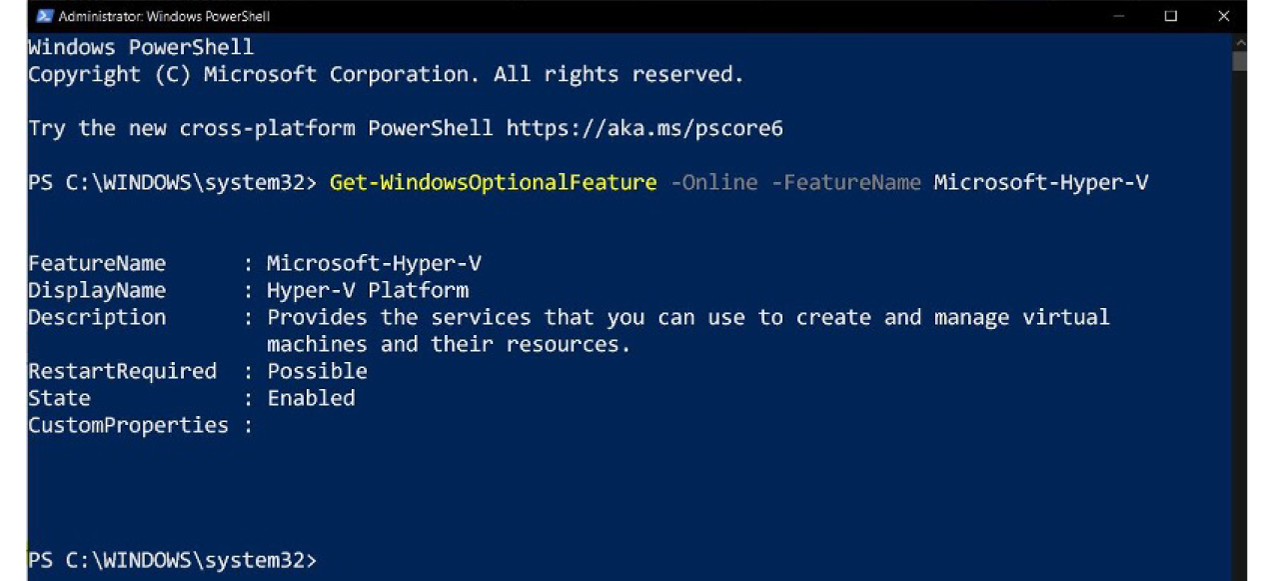
Your system will now begin installing Hyper-V in the background; it may be necessary to reboot a few times until everything is properly configured. Don’t hold your breath for a notification or anything! Verify that Hyper-V is installed successfully on your machine by running the following command as Administrator in PowerShell:
Get-WindowsOptionalFeature -Online -FeatureName Microsoft-Hyper-V
Once the state is shown as Enabled for above command in Power shell, we are good to go.
Kubernetes is a container orchestration system built on top of Docker. It is essentially just a tool for communicating with Docker containers and managing everything at an enterprise level. Simply go to install Docker and click to Get Docker Desktop for Windows (stable).
Docker Desktop for Windows is a version of Docker optimized for Windows 10. It’s a native Windows application that makes developing, shipping, and running dockerized apps simple. Docker Desktop for Windows is the fastest and most reliable way to develop Docker apps on Windows, as it uses Windows-native Hyper-V virtualization and networking. Docker Desktop for Windows can run Docker containers on both Linux and Windows.
Let us take a look on the different steps involved in installing docker desktop.
As long as the Docker Desktop for Windows app is running, Docker is accessible from any terminal. The Docker whale in the taskbar has a setting button that can be accessed from the UI.
For a detailed step by step installation guide with screenshot, visit the blog – How to Install Docker on Windows, Mac, & Linux: A Step-By-Step Guide
WARNING: FOLLOW THE INSTRUCTIONS BELOW! If Docker was successfully installed but you can’t find its tray icon, you’ll need to restart your computer. Check the official troubleshooting guide here if the issue persists.
Docker includes a graphical user interface (GUI) tool that allows you to change some settings or install and enable Kubernetes.
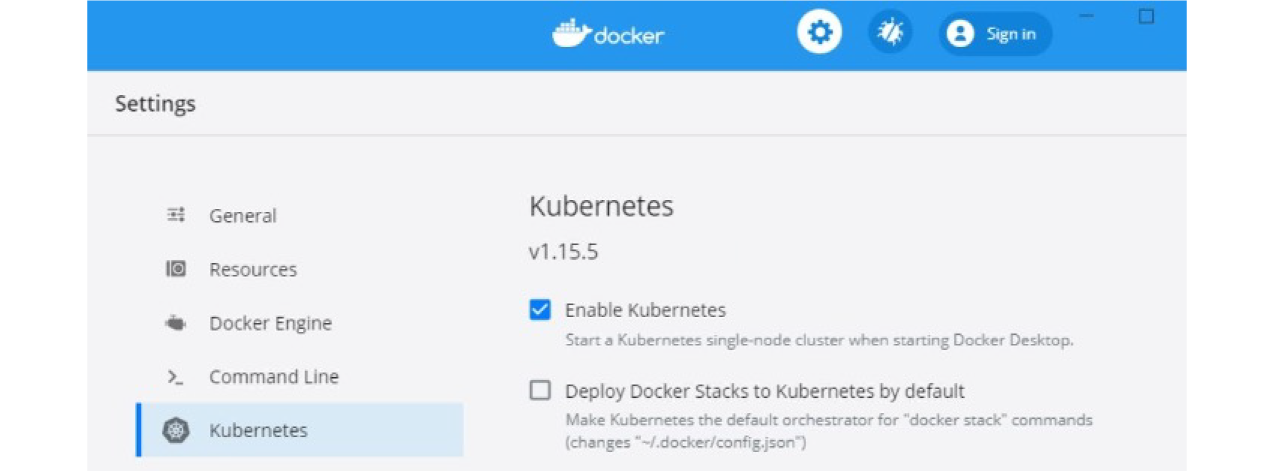
To install Kubernetes, simply follow the on-screen instructions on the screen:
1. Right-click the Docker tray icon and select Properties.
2. Select “Settings” from the drop-down menu.

3. Select “Kubernetes” from the left panel.
4. Check Enable Kubernetes and click “Apply”
Docker will install additional packages and dependencies during the installation process. It may take between 5 and 10 minutes to install, depending on your Internet speed and PC performance. Wait until the message ‘Installation complete!’ appears on the screen. The Docker app can be used after Kubernetes has been installed to ensure that everything is working properly. Both icons at the bottom left will turn green if both services (Docker and Kubernetes) are running successfully and without errors.
The official web-based UI for managing Kubernetes resources is Kubernetes Dashboard. It isn’t set up by default. Kubernetes applications can be easily deployed using the cli tool kubectl, which allows you to interact with your cloud and manage your Pods, Nodes, and Clusters. You can easily create or update Kubernetes resources by passing the apply argument followed by your YAML configuration file.
Use the following commands to deploy and enable the Kubernetes Dashboard.
1. Get the yaml configuration file from here.
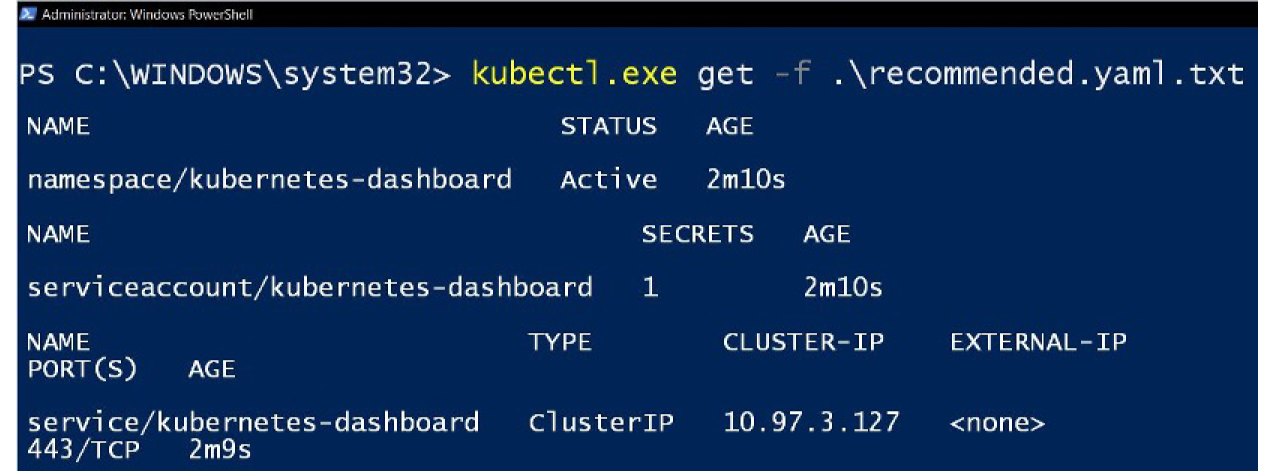
2. Use this to deploy it
3. Run the following command to see if it’s up and running.:
The dashboard can be accessed with tokens in two ways: the first is by using the default token created during Kubernetes installation, and the second (more secure) method is by creating users, giving them permissions, and then receiving the generated token. We’ll go with the first option for the sake of simplicity.
1. Run the following command PowerShell (not cmd)
2. Copy the generated token
3. Run
4. Open the following link on your browser:
5. Select
Token & paste the generated token
6. Sign In
Finally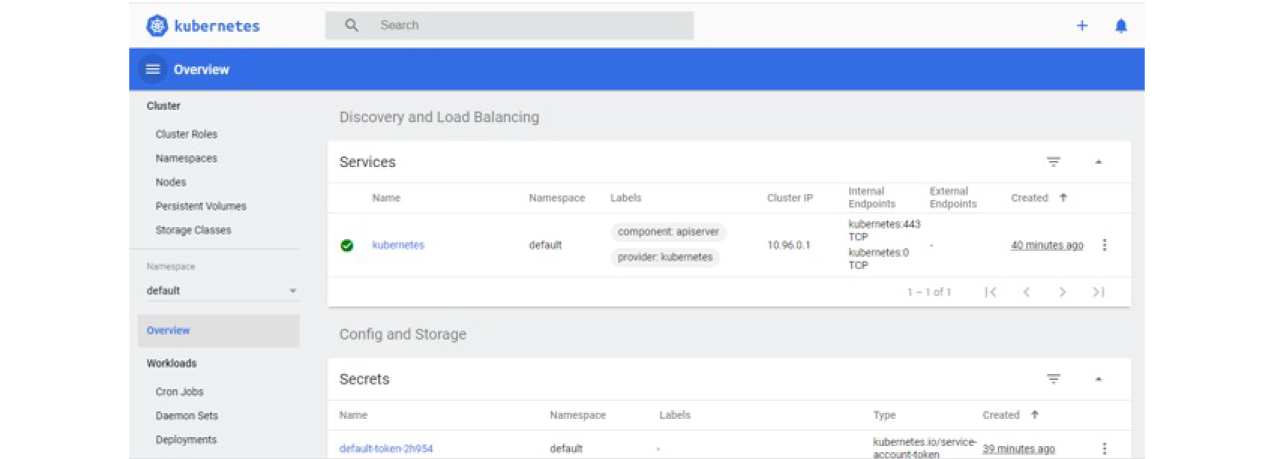 You’ll be able to see the dashboard and your cloud resources if everything is set up correctly. You can then do almost all of the “hard” work without having to deal with the CLI every time. You may occasionally get your hands dirty with the command line, but if you don’t understand Docker and Kubernetes or don’t have the time to manage your own cloud, it’s better to stick with some PaaS providers that can be quite expensive.
The procedures for uninstalling cert-manager on Kubernetes are outlined below. Depending on which method you used to install cert-manager – static manifests or helm – you have two options.
Warning: To uninstall cert-maneger, follow the same steps as you did to install it, but in reverse. Whether cert-manager was installed from static manifests or helm, deviating from the following process can result in issues and potentially broken states. To avoid this, make sure you follow the steps outlined below when uninstalling.
Step 1: Before continuing, make sure that all user-created cert-manager resources have been deleted. You can check for any existing resources with the following command:
After you’ve deleted all of these resources, you can uninstall cert-manager by following the steps outlined in the installation guide.
Step 2: Using regular manifests to uninstall.
2. Delete the installation manifests using a link to your currently running version vX.Y. Z like so:
Step 3: Uninstalling with Helm.
1. Uninstalling cert-manager from a Helm installation is as simple as reversing the installation process and using the delete command on both the server and the client. kubectl and helm.
2. Next, delete the cert-manager namespace:
3. Finally, delete the cert-manger CustomResourceDefinitions using the link to the version vX.Y.Z you installed:
The namespace is in the process of being terminated.
The namespace may become stuck in a terminating state if it is marked for deletion without first deleting the cert-manager installation. This is usually because the APIService resource is still present, but the webhook is no longer active and thus no longer reachable.
4. To fix this, make sure you ran the above commands correctly, and if you’re still having problems, run:
$ kubectl delete apiservice v1beta1.
Conclusion
In this tutorial, we have explained in detail how to install Kubernetes with Hyper-V. Also, we have tackled what requirements we need, both in terms of the software and hardware. We have explained how to install Hyper-V and Docker on Windows 10.
It is important to note that the fundamental difference between Kubernetes and Docker is that Kubernetes is meant to run across a cluster and Docker is meant to run through nodes.
Kubernetes is also more extensive than Docker Swarm and is meant to coordinate a cluster of nodes at scale in production in an efficient manner. Each software is crucial to having a smooth installation process.
We finally looked at how to install and uninstall Kubernetes.
Research & References of How to Install Kubernetes on Windows|A&C Accounting And Tax Services
Source